BeginnerCalf isolationisolation
Band calf raise
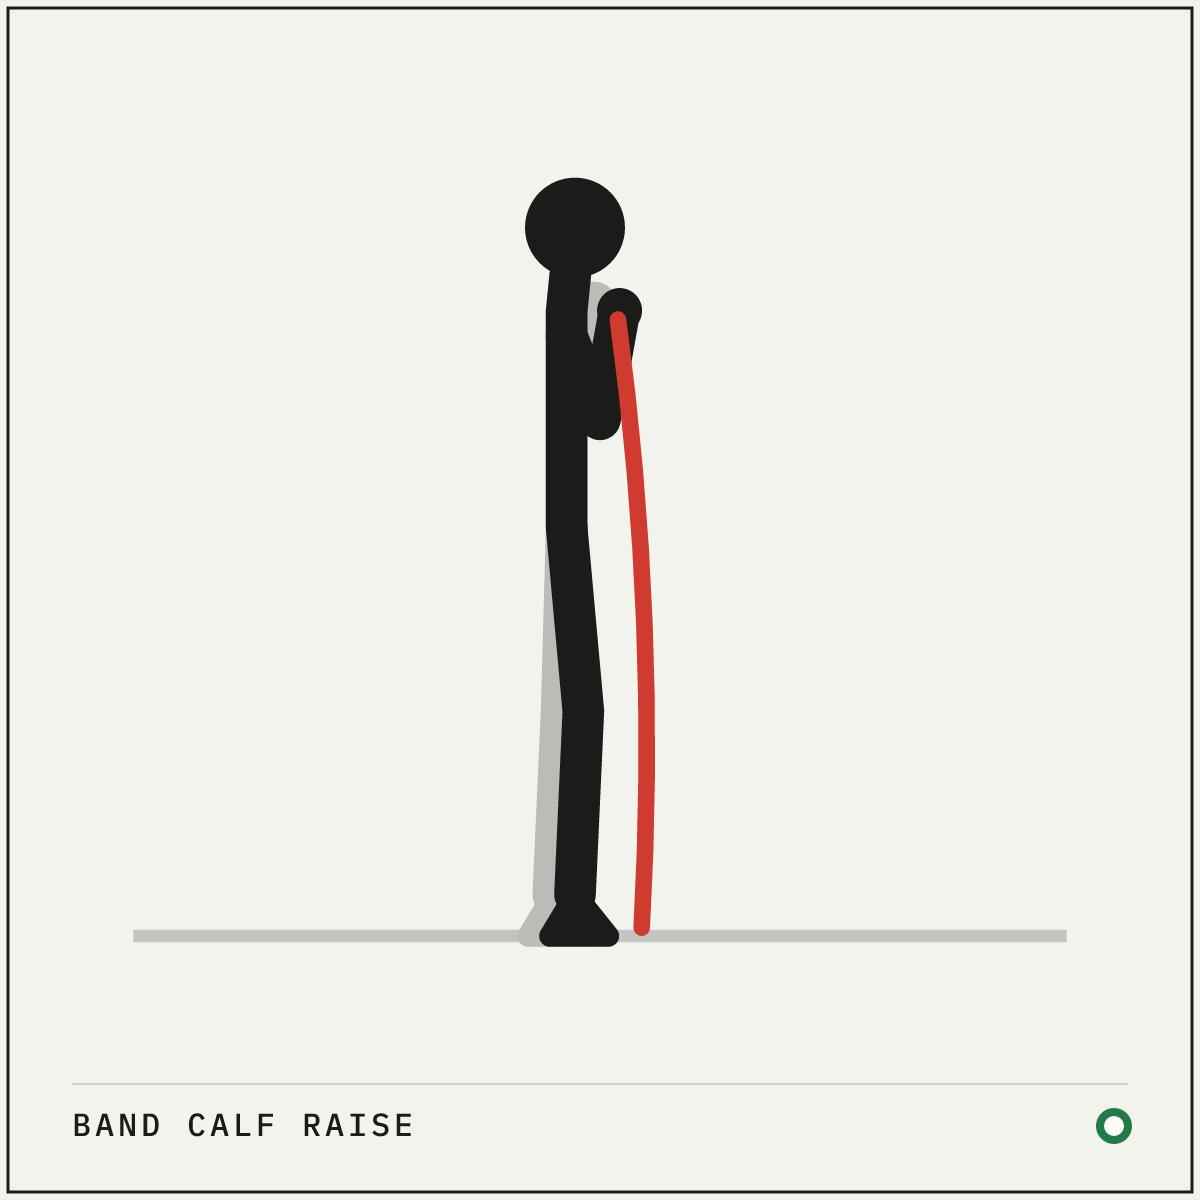
A standing calf raise working against the tension of a resistance band.
TrainsCalves
NeedsResistance band
01
The movement
2 stages
Flat
01 Flat
Stand tall with the band under your feet and held at your shoulders.
02 Raise
Rise high against the band tension; pause, then lower slowly.
02
How to do it
Setup
- Stand tall with the middle of a resistance band looped under the balls of your feet.
- Hold the ends of the band at your shoulders.
Execution
- Rise as high onto the balls of your feet as you can against the band tension.
- Pause for a full second at the top.
- Lower slowly until your heels touch down.
03
Cues and mistakes
Check every rep
- Press through your big toe and do not let your ankles roll outward.
- Keep the band handles securely at your shoulders.
What goes wrong
- Bouncing out of the bottom position.
- Letting the band snap your heels down instead of lowering with control.
04
Safety
- Ensure the band is securely under your feet so it does not snap up.
General guidance, not medical advice. See how Setkit works.
05
Notes
A resistance band changes the standard calf raise by adding accommodating resistance. As you reach the top of the raise where you are mechanically strongest, the band reaches its maximum stretch and delivers its highest tension.
Sets of 15–25 slow reps work best here. Take the bounce away, pause at the top, and control the descent. If the tension is too light, use a heavier band or loop it lower down your chest.
06