Incline push-up
A push-up with your hands raised on a bench, table or wall. The sensible way to build toward the full version.
TrainsChest
NeedsBodyweight
The movement
2 stages
Top
01 Top
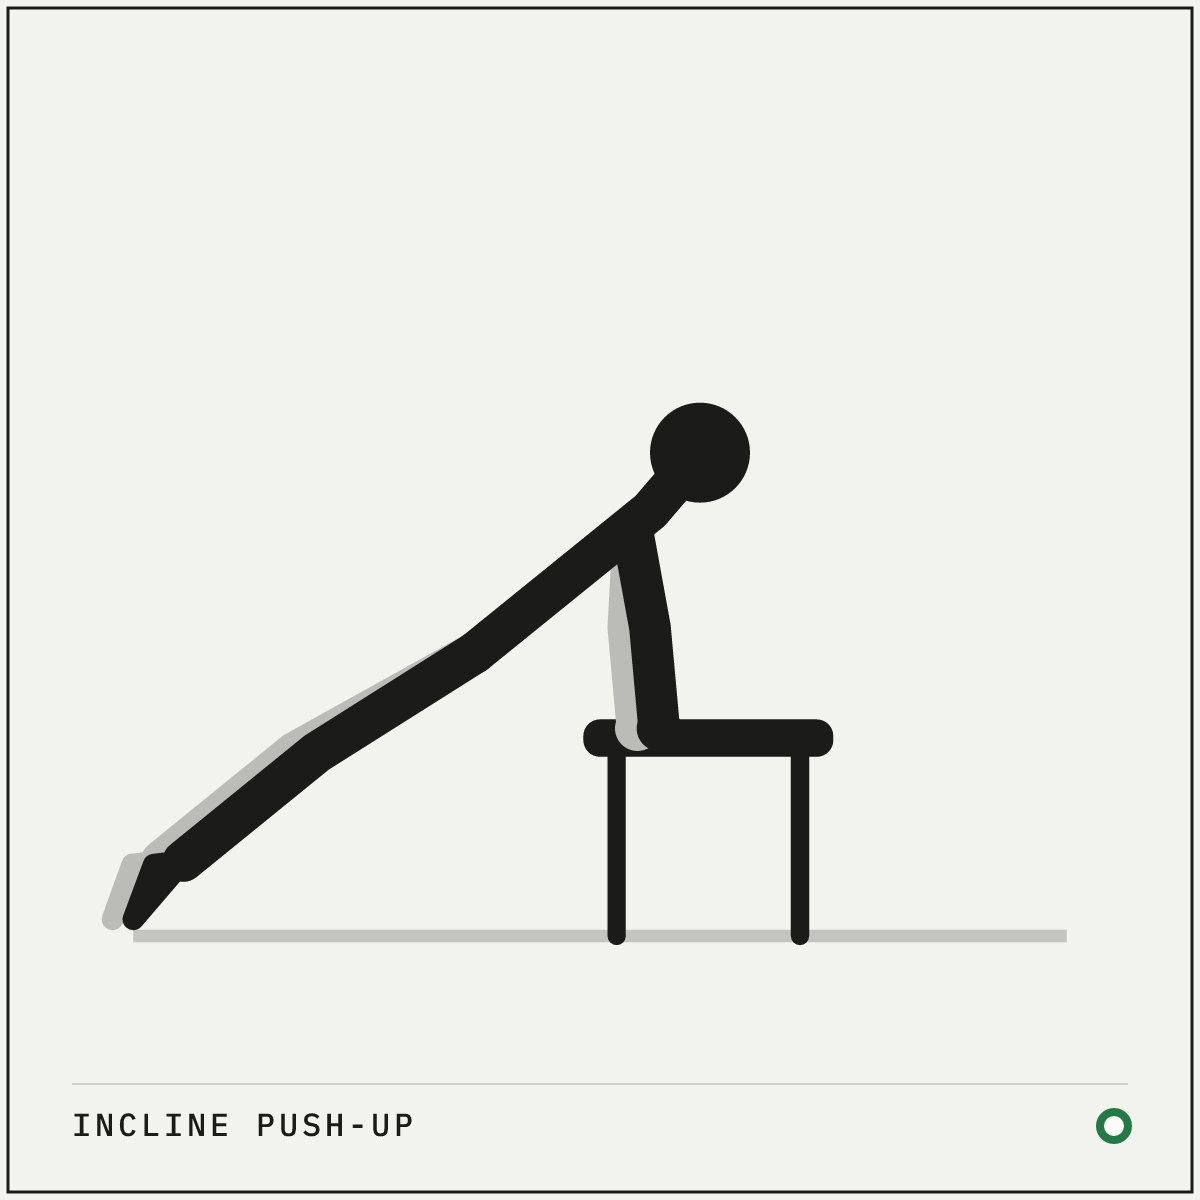
Hands on the raised surface, body one straight line to the heels.
02 Bottom
Lower until the chest touches the edge, then press away.
How to do it
Setup
- Put your hands on a sturdy raised surface, such as a bench, a table edge or a kitchen counter, slightly wider than your shoulders.
- Walk your feet back until your body forms a straight line on an angle.
- Tighten your stomach and glutes so your body holds that line.
Execution
- Lower your chest to the edge of the surface with your elbows about 45° from your body.
- Touch the edge lightly with your chest.
- Press back to straight arms without letting your hips sag.
Cues and mistakes
Check every rep
- The lower the surface, the harder it gets. Pick a height allowing 8–12 clean reps.
- Move your whole body as one piece, hips travelling with chest.
What goes wrong
- Choosing a surface so high that the reps do almost nothing.
- Bending at the hips instead of holding a straight line.
Safety
- Check the surface cannot slide before your first rep.
General guidance, not medical advice. See how Setkit works.
Notes
The incline push-up is how most push-ups are learned. Raising your hands keeps the whole body straight and takes weight off your arms, so the trunk learns its job from the first rep. The knee push-up takes the other route by shortening the body instead, and either one leads to the floor. The lower the surface, the more of your weight you press, so a wall leads to a counter, a counter to a bench, and a bench to the floor.
Treat each height as its own weight. Own three sets of twelve strict reps before you move to something lower, and your first floor push-up will arrive with the form already built. The incline version stays useful after that too, for high-rep pressing in circuits where full push-ups would fall apart.