Glute bridge
Lifting your hips while lying on your back. The simplest way to learn what working glutes actually feel like.
TrainsGlutes
NeedsBodyweight
The movement
2 stages
Set
01 Set
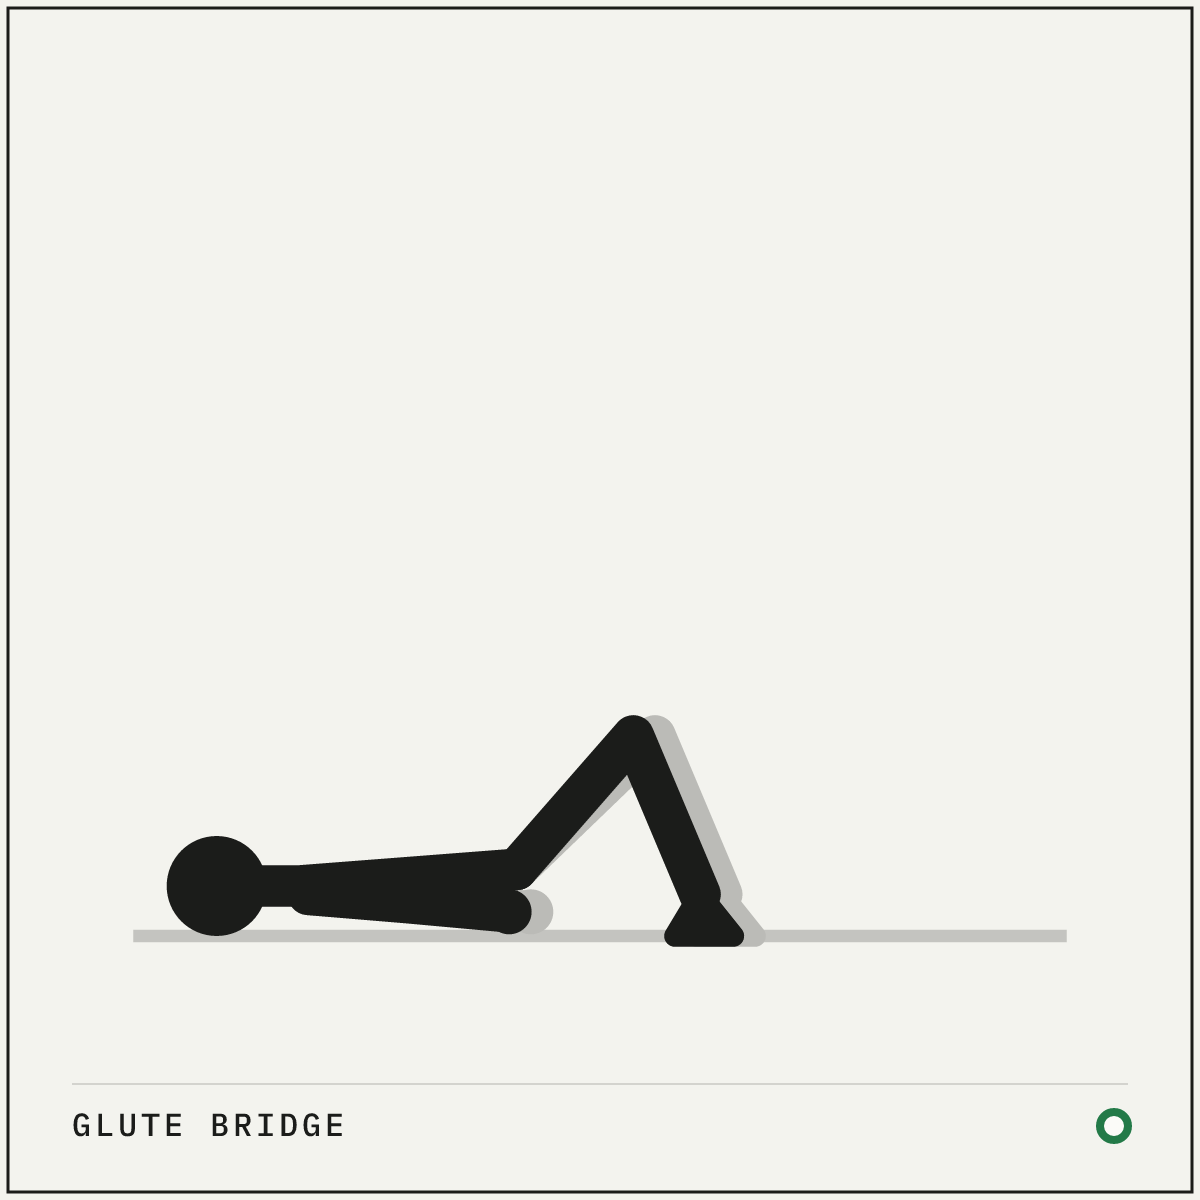
On your back, knees bent, feet flat near the hips.
02 Bridge
Drive through the heels until shoulders, hips and knees form a line.
How to do it
Setup
- Lie on your back with your knees bent and your feet flat, about hip-width apart and close enough that your fingertips can touch your heels.
- Rest your arms on the floor at your sides.
Execution
- Push through your heels and lift your hips until your shoulders, hips and knees form a straight line.
- Squeeze your glutes hard at the top for a full second.
- Lower under control and repeat without resting on the floor.
Cues and mistakes
Check every rep
- Finish with a glute squeeze, not a lower-back arch.
- Keep your ribs down; your hips go up and your spine stays still.
What goes wrong
- Over-arching your lower back to fake extra height.
- Feet too far away, which gives you hamstring cramp instead of glute work.
Safety
- If your hamstrings cramp, walk your feet closer to your hips.
General guidance, not medical advice. See how Setkit works.
Notes
The glute bridge teaches a skill that sounds silly until you try it, which is deliberately squeezing your glutes to move your hips. Years of sitting leave a lot of people straightening their hips with their lower back instead, and the bridge is the cleanest place to learn the difference, because the floor supports everything else.
The top of the rep is the exercise. Bouncing quickly to half height does very little. A deliberate two-second squeeze with your hips fully straight does a lot. The pause also checks your form. If you feel the effort in your lower back rather than your glutes, start again with your ribs down and your knees slightly wider.
Bridges keep a permanent place as a warm-up before squats and deadlifts, and they progress cleanly. One leg at a time comes first, then putting your shoulders on a bench, which is the hip thrust.